
ok this is my first DIY post. I just figured out how to save lots of money on your invites. Do them online.
Yeah, some of you might say it is impersonal or that maybe your grandmother might not be able to figure it out. Well someone will be able to help her (or she could call you and you could put her information for her), and i think it is just as personal as a piece of paper. Anyway, it will save hundreds of dollar bills. And it is super easy to do.
Step 1: set up a blogger account. It won't work with just any blog. I tried it on wordpress and it wasn't supported but since blogger is part of the Google family, it supports the iframe tags you need to make this work.
Step 2: set up a google account if you don't already have one.
Step 3: Once you have a google account, click on the documents tab (may be under "more" in the top left hand side of google)

Step 4: Once you are in google docs, click "create new" and go down to "form"

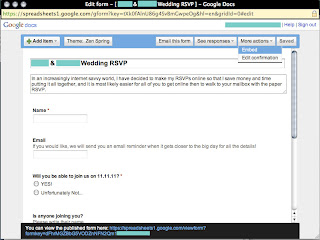
Step 5: Here is where you have to decide exactly what you want your RSVP to look like. I put the following criteria:
• Name (for this I chose a text box)
• Email (for this I chose a text box)
• Will you be able to join us? (multiple choice, options "YES!" and "Unfortunately Not..."
• Is anyone Joining you, if so, please write their names (for this I chose a text box)
• Any comments? (for this I chose a paragraph box)

You can add as many questions as you want or as few as you would like. I am going to have a potluck style wedding so I also asked them to let me know what dish they will be bringing so I can be organized and supply what will be lacking.
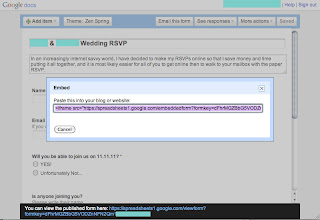
Step 6: Once you have created your form, you need to go to "more actions" and down to embed. A hyperlink will come up that says "copy and paste this into your website or blog"

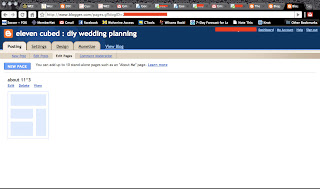
Step 7: Go to the blog you made earlier on Blogger. Make a new page. Name your page anything you would like, I named mine RSVP.
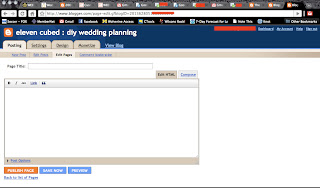
Step 8: paste the code in the EDIT HTML tab. save and view.

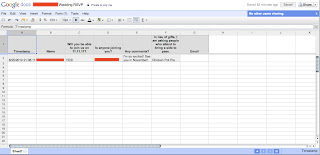
Step 9: You can adjust your blog pages so that the form fits better, but it should look like this:

Step 10: now fill out a sample one to make sure it works. It should have made a google docs spreadsheet in your google docs page, with the same name as the form you just made.
Now when you send out your STDs or if you still want to send out invites, you can just direct them to your web address and then it will be easier for everyone!
p.s. sorry the pictures are so small! Still getting used to this blogging business. If you click on them they get bigger!
You are my hero. I just did this for my wedding. Your directions made it as simple as pie. Thank you so much for sharing this!
ReplyDeleteThis is great, and I just went through all the steps...but do you know if you are able to embed this in an already set up knot webpage?
ReplyDeleteThanks for posting this! It made it a lot quicker to set up. :)
ReplyDelete