
For some reason, this project was the first thing I thought of when starting to plan for my wedding. I looked up a pattern online, and tweaked it to my liking and started making them! They looked kinda funky at first but now each one looks better than the last.
Here's the final product:

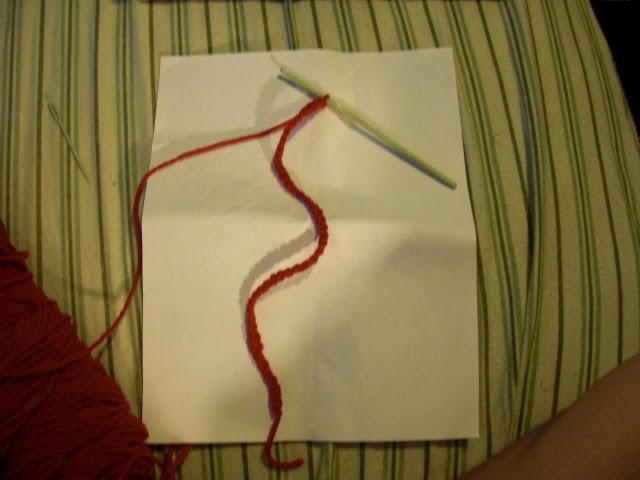
And here is how I got there:
Supplies:
• Yarn (any type will do, just make sure you use appropriate hook sizes)
• Crochet hook (bigger ones will make your rose bigger with more holes and smaller ones will be more compact)
• Yarn needle

Step 1: If you don't know how to chain stich, please read about it here
Chain 45

chain 1
do 3 more double stitches (and 2 more chains, you don't have to chain on the last one) in that same loop. After you have 4 double crochet stitches, skip a stitch and single crochet again, then skip another stitch and start the double crochet pattern above. Should look like this:
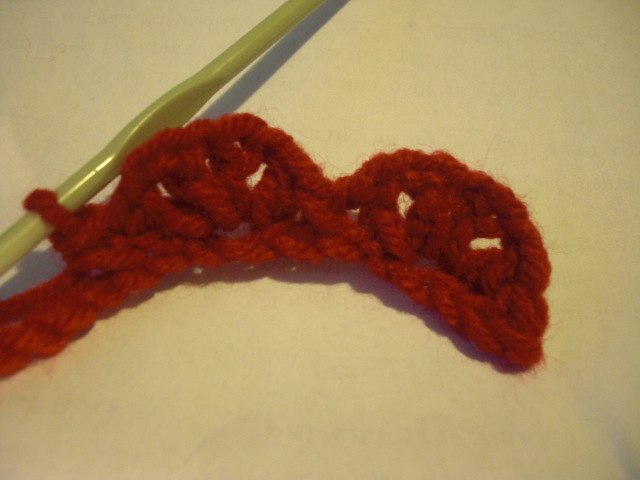
Step 4: continue this pattern all the way to the end.

Step 5: If you look at your work, you’ll see that one edge is flat and the other edge is scalloped. Starting at the opposite end of your work to the long yarn end, begin to roll the rose up into a spiral, and roll so that the flat edge stays flat. Attach the yarn needle and sew through the middle and to the other side. Turn the rose and do this a few more times until everything stays in place.

Now you are done!

What you chose to do with it is another thing!
I thought of using it in a hair piece:
Many roses in a bunch:

One rose:


or a ring!

Hope you enjoyed and happy crafting!
Great tutorial!
ReplyDeleteThanks! Let me know if you make them, I'm always looking for more ways to use these guys!
ReplyDelete